Peanut Butter Cup Bars
Highlighted under: Sweet Indulgence Recipes
I absolutely love making these Peanut Butter Cup Bars whenever I’m in the mood for a rich, sweet treat! With layers of creamy peanut butter, chocolate, and a crunchy base, these bars are an indulgence that never disappoints. They’re surprisingly easy to whip up, requiring no baking, which makes them perfect for any occasion. I usually make a batch ahead of time to have on hand for unexpected guests or a sweet snack during movie nights. Trust me, they’ll be gone in no time!

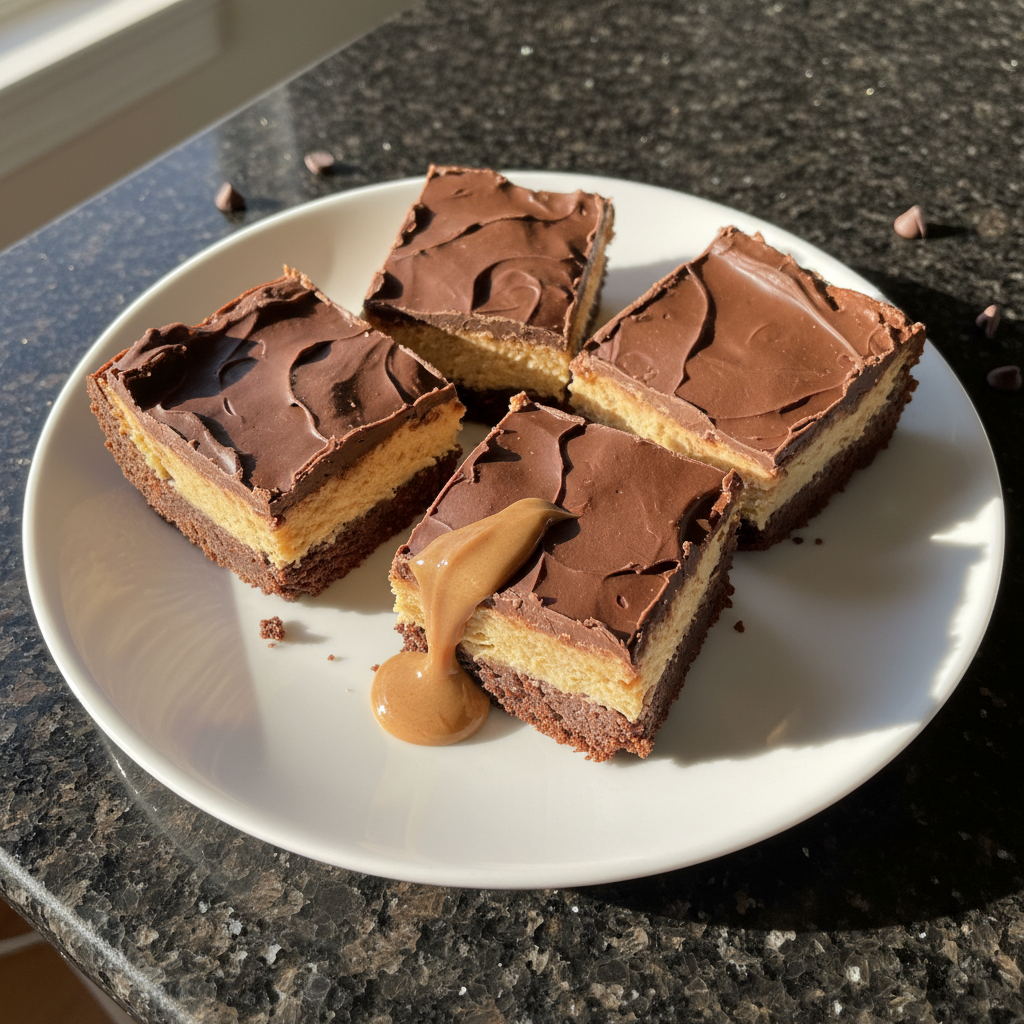
When I first attempted these Peanut Butter Cup Bars, I was amazed at how simple they were to create. Combining graham cracker crumbs with melted butter forms a solid base, while the layers of peanut butter and chocolate make every bite heavenly. The trick is to let the bars chill long enough so they set properly; a little patience goes a long way!
I also found that using high-quality chocolate really enhances the flavor. For the best results, be sure to allow the chocolate topping to cool before slicing into the bars. It creates a beautiful finish and ensures each piece holds together perfectly. I can't wait for you to try this recipe!
Why You'll Love These Bars
- Decadent combination of chocolate and peanut butter
- No baking required, making them a quick treat
- Perfectly portioned for sharing (or not!)
The Perfect Texture
Achieving the right texture in these Peanut Butter Cup Bars is essential for the perfect bite. The base made from graham cracker crumbs and cocoa powder should be pressed firmly into the pan but not overly compacted. You’ll want it to hold its shape while still being somewhat crumbly when you take a bite. The melted butter acts as a binder, making sure that the layers stay together while providing a delicious richness that complements the peanut butter layer beautifully.
The peanut butter layer is all about achieving a creamy and smooth consistency. I recommend using a good quality creamy peanut butter because it adds to the overall mouthfeel. If you opt for natural peanut butter, ensure it's well-stirred to incorporate the oil evenly, as this will affect the layer’s spreadability. The mixture should be thick yet spreadable; if it’s too runny, add a bit more powdered sugar until you reach the desired thickness.
Tips for Melting Chocolate
When melting chocolate, it's crucial to do it gently to avoid burning. Using a double boiler is an effective method, but if you choose a saucepan, keep the heat low to prevent direct contact with the flame. Add water to the bottom pot and bring it to a gentle simmer. The steam will gradually warm the chocolate, leading to a smooth, glossy finish without any risks of scorching. Stir constantly to ensure even melting and incorporate the coconut oil to achieve a silky texture.
Alternatively, you can melt the chocolate in the microwave. Place the chocolate chips and coconut oil in a microwave-safe bowl, heating in 30-second intervals, stirring after each time. I usually find that two to three intervals suffice to fully melt the chocolate while avoiding any lumps. Once melted, pour it over the peanut butter layer quickly, as working with melted chocolate allows for better coverage and a shiny finish.
Storage and Serving Suggestions
These Peanut Butter Cup Bars can last up to a week when stored properly. Once fully chilled and set, cut the bars into squares and store them in an airtight container in the refrigerator. This helps maintain their freshness and ensures the textures stay intact. For longer storage, consider freezing them. Wrap each square in plastic wrap and place them in a freezer-safe container; they can be enjoyed for up to three months. Simply thaw them in the refrigerator for a few hours before serving.
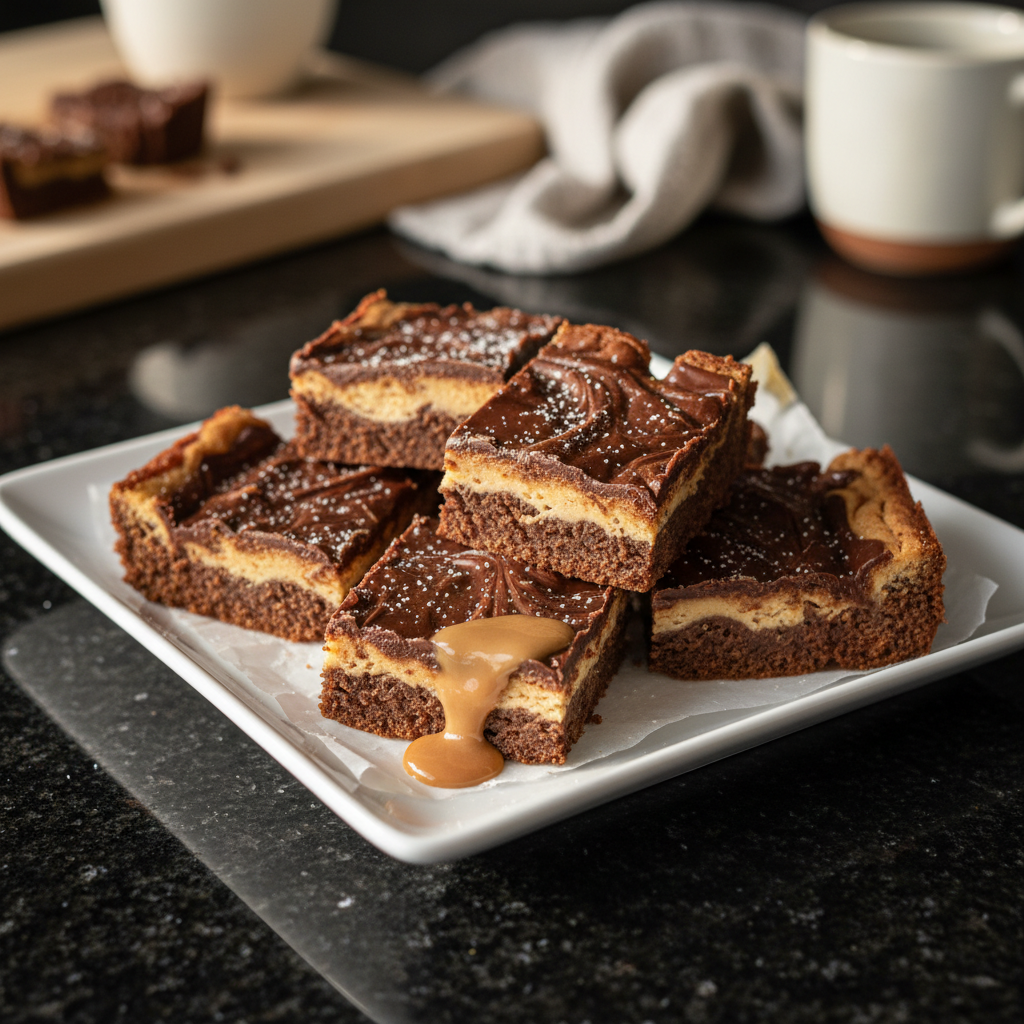
When it comes to enjoying these bars, they are incredibly versatile! You can serve them plain, or jazz them up with toppings like crushed nuts, flaky sea salt, or even a drizzle of melted white chocolate for added flair. I often slice them into bite-sized pieces for parties or gatherings, allowing guests to indulge without committing to a large piece. These bars pair wonderfully with a warm cup of coffee or a glass of cold milk, making them even more enjoyable.
Ingredients
For the Base
- 1 cup graham cracker crumbs
- 1/3 cup unsweetened cocoa powder
- 1/2 cup unsalted butter, melted
For the Peanut Butter Layer
- 1 cup creamy peanut butter
- 1/2 cup powdered sugar
- 1/4 cup unsalted butter, softened
For the Chocolate Topping
- 1 cup semi-sweet chocolate chips
- 2 tablespoons coconut oil
Gather all your ingredients before starting for an efficient preparation process.
Instructions
Prepare the Base
In a medium bowl, combine graham cracker crumbs and cocoa powder. Stir in melted butter until the mixture resembles wet sand. Press it into the bottom of a lined 8x8 inch pan.
Make the Peanut Butter Layer
In another bowl, mix together the peanut butter, powdered sugar, and softened butter until smooth and creamy. Spread this mixture evenly over the cooled base layer.
Melt the Chocolate Topping
In a small saucepan, over low heat, melt together the chocolate chips and coconut oil. Stir constantly until completely melted and smooth.
Top and Chill
Pour the melted chocolate over the peanut butter layer, spreading it evenly. Chill the bars in the refrigerator for at least 2 hours before slicing into squares.
Store any leftovers in an airtight container in the refrigerator for up to a week.
Pro Tips
- For added flavor, try sprinkling crushed peanuts on top before chilling. You can also swap out almond butter for a nutty twist!
Why Graham Crackers?
The use of graham cracker crumbs in the base provides a delightful contrast to the creamy layers above. They lend a subtle sweetness and a hint of spice that enhances the overall flavor profile. If you’re looking for a gluten-free option, consider using gluten-free graham cracker crumbs or crushed almond flour as an alternative. Just keep in mind that the texture might differ slightly, so adjusting the amount of melted butter may be necessary to achieve the perfect consistency.
Graham crackers are easy to crush using a food processor or by placing them in a zip-top bag and rolling over them with a rolling pin. Aim for fine crumbs to ensure a smooth base. Uneven or large chunks might disrupt the layer and can lead to a less cohesive bite, so take your time with this step to ensure a perfectly blended crust.
Substitutions for Dietary Preferences
If you're looking to make these bars dairy-free, simply substitute the unsalted butter for a vegan counterpart, such as coconut oil or a plant-based margarine. You can also use dairy-free chocolate chips in the topping to maintain that rich, chocolatey flavor without the dairy. This makes the bars suitable for those with lactose intolerance or anyone following a vegan diet while still keeping the treat indulgent and satisfying.
For those who prefer a different nut butter, almond butter or cashew butter can work beautifully in the peanut butter layer. Just keep in mind that the flavor will change slightly, giving a unique twist to the overall bars. Each nut butter has its own character, and experimenting with these can lead to some exciting variations of the original recipe, letting you personalize it to your taste.
Questions About Recipes
→ Can I make these bars vegan?
Yes! Simply use vegan butter and dark chocolate chips.
→ How long do these bars last?
When stored in an airtight container in the refrigerator, they can last up to a week.
→ Can I freeze these bars?
Absolutely! Wrap the bars tightly and freeze for up to 3 months. Thaw in the fridge before serving.
→ What can I substitute for graham cracker crumbs?
You can use crushed digestive biscuits or Oreo crumbs as a great alternative!
Peanut Butter Cup Bars
I absolutely love making these Peanut Butter Cup Bars whenever I’m in the mood for a rich, sweet treat! With layers of creamy peanut butter, chocolate, and a crunchy base, these bars are an indulgence that never disappoints. They’re surprisingly easy to whip up, requiring no baking, which makes them perfect for any occasion. I usually make a batch ahead of time to have on hand for unexpected guests or a sweet snack during movie nights. Trust me, they’ll be gone in no time!
What You'll Need
For the Base
- 1 cup graham cracker crumbs
- 1/3 cup unsweetened cocoa powder
- 1/2 cup unsalted butter, melted
For the Peanut Butter Layer
- 1 cup creamy peanut butter
- 1/2 cup powdered sugar
- 1/4 cup unsalted butter, softened
For the Chocolate Topping
- 1 cup semi-sweet chocolate chips
- 2 tablespoons coconut oil
How-To Steps
In a medium bowl, combine graham cracker crumbs and cocoa powder. Stir in melted butter until the mixture resembles wet sand. Press it into the bottom of a lined 8x8 inch pan. Chill in the refrigerator while you make the filling.
In another bowl, mix together the peanut butter, powdered sugar, and softened butter until smooth and creamy. Spread this mixture evenly over the cooled base layer.
In a small saucepan, over low heat, melt together the chocolate chips and coconut oil. Stir constantly until completely melted and smooth.
Pour the melted chocolate over the peanut butter layer, spreading it evenly. Chill the bars in the refrigerator for at least 2 hours before slicing into squares.
Extra Tips
- For added flavor, try sprinkling crushed peanuts on top before chilling. You can also swap out almond butter for a nutty twist!
Nutritional Breakdown (Per Serving)
- Calories: 240 kcal
- Total Fat: 16g
- Saturated Fat: 7g
- Cholesterol: 20mg
- Sodium: 105mg
- Total Carbohydrates: 23g
- Dietary Fiber: 2g
- Sugars: 18g
- Protein: 5g